REVIEW · REYKJAVIK
Reykjavik: Small Group Northern Lights Tour
Book on GetYourGuide →Operated by ICELANDIA · Bookable on GetYourGuide
Reykjavik can be bright. The aurora hunt feels different when you’re taken out past the city lights and given time to actually watch. This Northern Lights tour runs only about 3 hours and keeps the group to a maximum of 19, which matters when everyone’s scanning the sky at once.
I like the practical setup: you meet at the BSI Bus Terminal, then get on a warm, comfortable bus and head to a quiet dark area. I also like that the guide plans the viewing spot based on conditions, instead of just guessing. One possible drawback: sightings aren’t guaranteed, so you’ll want to dress for cold and accept that weather decides part of the night.
In This Review
- Key things I’d watch for
- Reykjavik Aurora, but with a strategy
- The 3-hour rhythm: from meeting point to sky time
- Why your guide picks the spot each night
- What the Northern Lights look like (and how to watch)
- Photo and timing tips that actually help
- The comfort details that make waiting easier
- Price and value: is $115 worth it?
- When things don’t go perfectly
- Who should book this tour?
- Should you book this Reykjavik Northern Lights tour?
- FAQ
- Where do I meet for the Northern Lights tour?
- How big is the group?
- How long is the tour?
- Is seeing the Northern Lights guaranteed?
- What should I bring?
- Are food and drinks included?
- Will I have help with photos?
- What if I don’t see the lights on the first try?
- Is the tour in English?
Key things I’d watch for
- Up to 19 people keeps the experience calmer and easier to hear the guide.
- A dedicated dark-sky stop away from Reykjavik’s lights gives the aurora a better chance to show.
- Guide-led spot selection improves your odds by reacting to what the sky is doing that night.
- Blankets on the bus help during the waiting, when your hands and feet start bargaining with you.
- Plenty of time to look and photograph after you arrive, not just a quick stop-and-go.
- Free return if you miss the lights the first time you go, if conditions cooperate later.
Reykjavik Aurora, but with a strategy
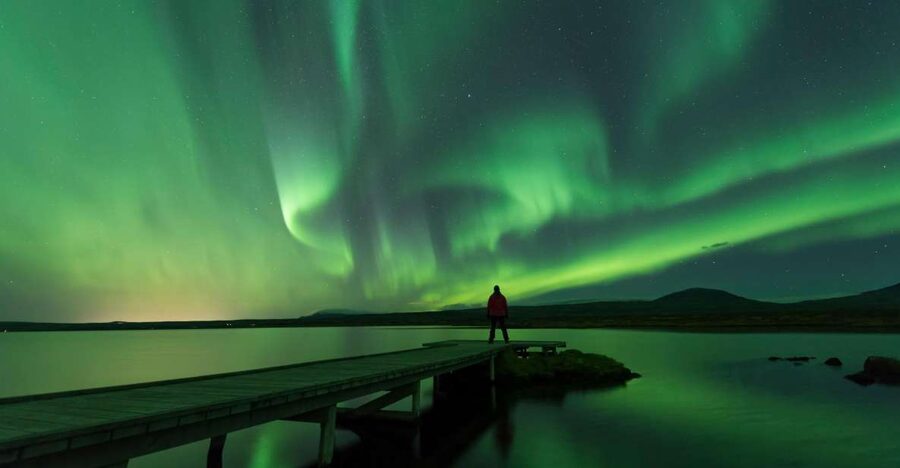
If your goal is seeing the Northern Lights, the biggest thing you can control is your viewing setup. Light pollution is a buzzkill. This tour solves that by getting you out of the Capital Region’s glow and into a darker area where the sky has a chance to show its real colors.
The other smart move is that you’re not relying on luck alone. The tour uses a local expert guide who chooses where to go each night. That doesn’t make the aurora guaranteed, but it does mean you’re making better decisions than simply following wishful thinking on your own.
Also, it’s a small group. With a max of 19 people, you’re more likely to get the kind of guide attention that actually helps—like simple advice on what to watch for and how to capture the aurora with a camera.
You can also read our reviews of more tours and experiences in Reykjavik.
The 3-hour rhythm: from meeting point to sky time
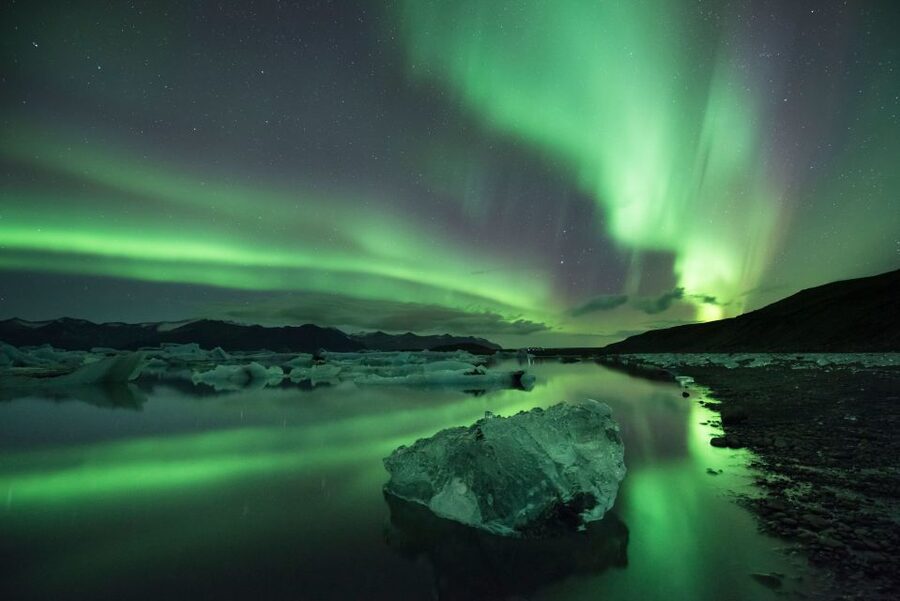
The tour is built around a short, focused window. You’ll meet at the BSI Bus Terminal, and the key detail is timing: be ready 30 minutes before departure. In winter, arriving early helps you settle in and get warm before the bus pulls out.
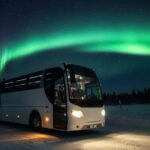
Once you’re on board, the ride is part of the comfort plan. You get a warm and comfortable bus, plus blankets. There’s also free Wi‑Fi on the bus, which can help you pass time while you wait for the night to do its thing.
When you arrive at the viewing location, you’re not rushed. You should have time to watch the lights shift and change form and color, and you’ll also have time for photos. After that, you head back to Reykjavik by bus.
A tour like this is all about managing your energy. Three hours is long enough for the aurora to potentially appear, but short enough that you don’t feel like you’ve signed up for an all-night endurance test. You still need to prepare for cold, though—waiting is the hard part.
Why your guide picks the spot each night
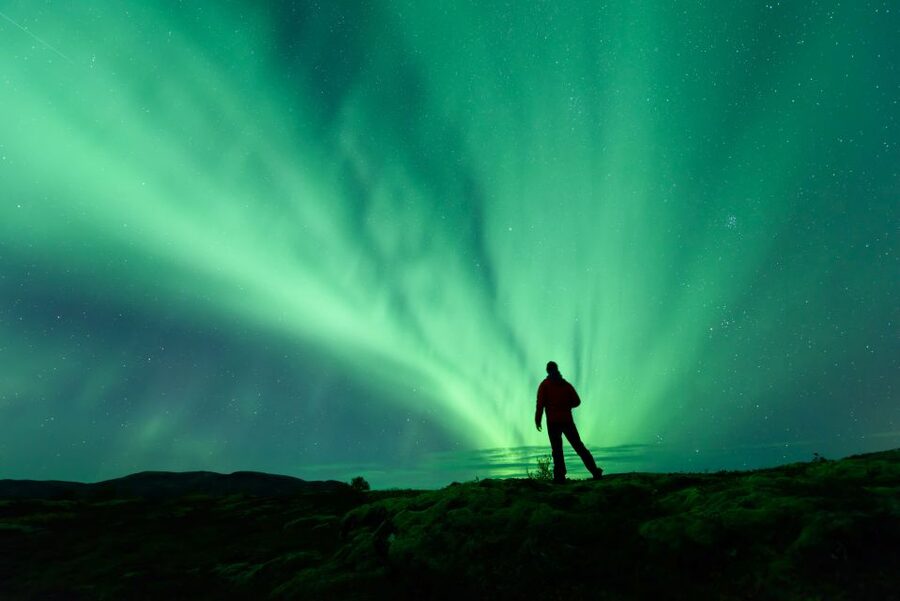
In Iceland, the aurora can be visible from late August to April. But visibility isn’t the whole story. The aurora needs the right conditions and the right viewing environment. That’s where the guide’s planning matters.
This tour explicitly leans on expert decision-making for where to go each night. The reasoning is straightforward: the aurora is an atmospheric event caused by particles from the sun interacting with the upper atmosphere near the magnetic pole. Even when the sky is active, clouds, wind, and light pollution can spoil your view.
So instead of treating the sky like a fixed destination, the guide treats it like a moving target. You benefit from that planning because you’re not spending the night driving around yourself, guessing, and trying to remember whether that one spot was darker or closer.
What the Northern Lights look like (and how to watch)
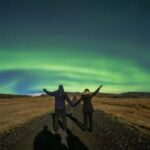
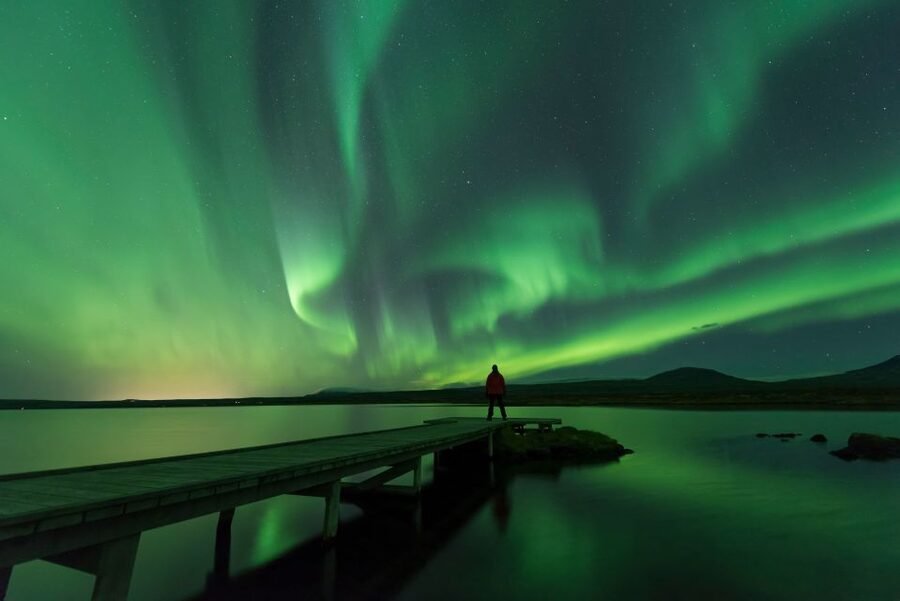
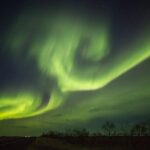
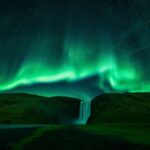
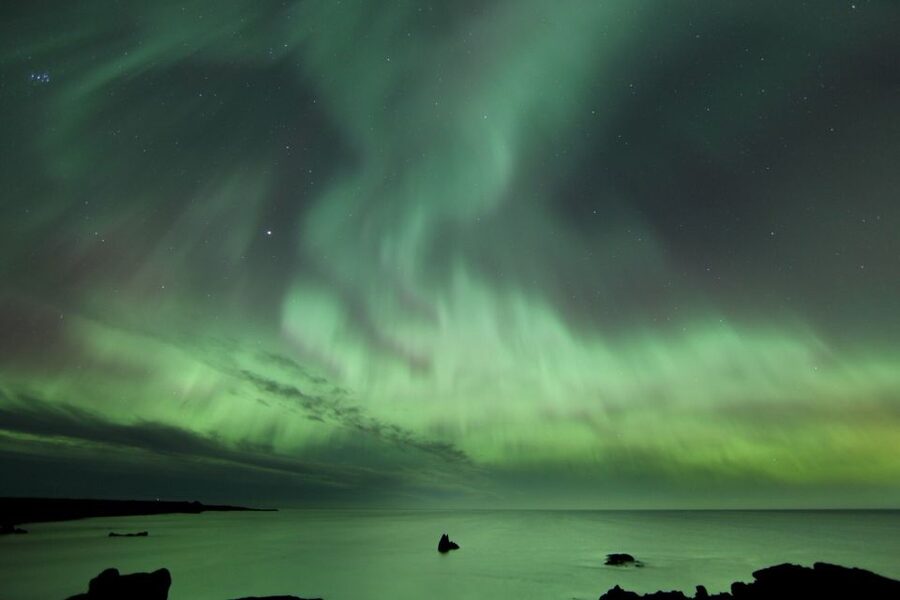
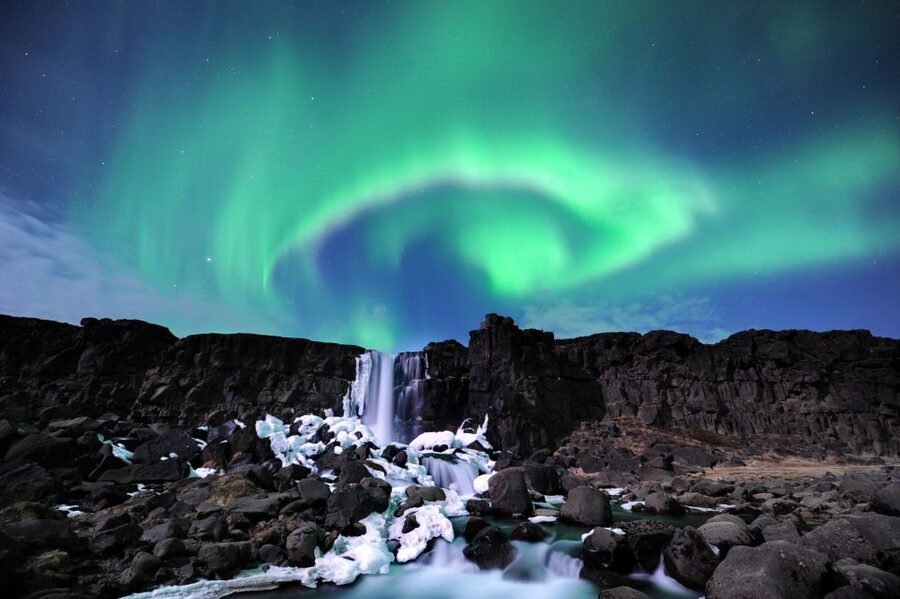
Once the lights show up, the experience can feel surprisingly physical—even if you’re just standing still. The aurora can appear in many different forms, and colors can change through the show.
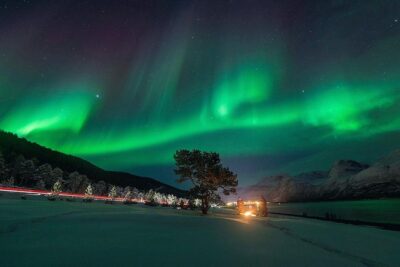
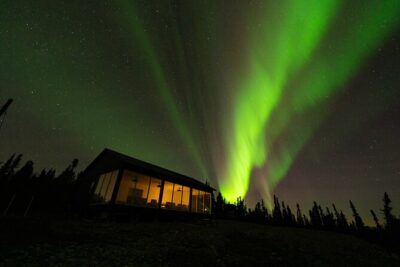
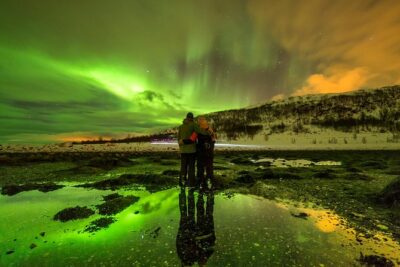
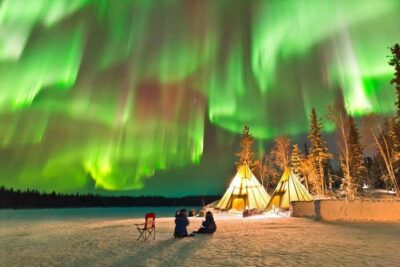
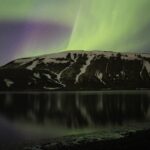
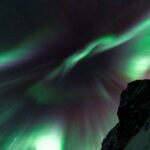
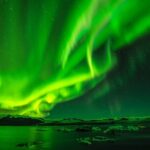
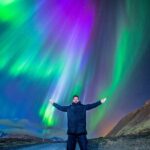
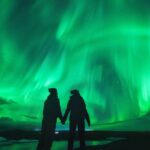
You’ll most often see light green and pink, though other colors can appear too. When the aurora is active, you might notice it moving or shifting shape instead of just staying as one static glow. That’s one reason the tour gives you time at the location. You’re not just checking a box; you’re watching a pattern evolve.
Here’s what I’d do in your shoes: be patient in the moment, and keep your eyes on the sky longer than you think you need. Many people start filming instantly, then forget to look. If you do both—watch with your eyes first, then capture—your memory will be better when the lights fade.
And if you’re curious about photography, ask your guide for basic tips. The guide can help you connect what you’re seeing to simple camera decisions, like settings and timing, so your photos have a better shot at looking like the night did to your own eyes.
Photo and timing tips that actually help
This tour is built with photography in mind, which is great because the aurora is hard to predict. You can’t control when the lights arrive, but you can control what you do once they do.
The big practical advantage is that you get time on location. When you have a window to experiment—find your frame, check your camera, and adjust—you’ll get more keepers and less frustration.
A few photo-minded habits I’d recommend based on how tours like this run:
- Start filming early once you see activity, then switch to stills if the display strengthens.
- Use your guide’s basic tips as a quick starting point, not as complicated homework.
- Keep your hands warm. Gloves matter. If your fingers go numb, even a simple menu can become a problem.
- Don’t ignore the sky between shots. Sometimes the most memorable moments happen while you’re rechecking settings.
You’ll also want to plan your clothing like a photographer, not a tourist. Warm layers, a hat, gloves, and hiking shoes are specifically recommended for a reason: you’ll likely stand outside for stretches while the lights decide whether to show.
The comfort details that make waiting easier
Waiting is part of the deal, so the tour’s comfort features aren’t fluff.
You’ll get blankets, which help when the cold catches up to your legs and torso. The bus ride itself is described as warm and comfortable, and that matters because it gives you a buffer before you step out into the dark.
Also, you’ll have free Wi‑Fi on the bus. That’s useful if you’re checking aurora forecasts while you’re on the move, or if you just want to avoid doom-scrolling in silence.
And yes, you’ll likely want food and drink to keep your energy up—but this tour doesn’t include it. So if you’re sensitive to hunger or cold, you may want to eat before you go. The tour’s description is clear on that point.
Price and value: is $115 worth it?
At $115 per person for about 3 hours, this is not a budget activity. But it is also not just you standing in the cold hoping for a miracle. The value comes from a few bundled advantages:
- Transportation included via bus ticket
- Blankets and a warm ride
- A professional local guide
- Small group size (max 19), which improves the vibe and makes it easier to follow instructions
- Darker location selection based on conditions, improving your chances of actually seeing the lights
Could you do this cheaper by renting a car and driving yourself? Possibly. But that shifts the hard work onto you: route planning, timing, and the stress of not knowing whether you’re in the right place until you arrive.
For many people, paying for the guide plus the bus is simply buying less uncertainty. Add the potential for a free return if you don’t see the aurora the first time, and the risk drops a lot. That’s the kind of deal that makes a pricier tour feel safer.
When things don’t go perfectly
Aurora nights have chaos baked in. This tour is clear that weather affects sightings and that you should check updates. You’ll also want to keep an eye on emails before the tour. If you’re staying at a hotel, ask the receptionist if the tour is running as usual. That extra check can save you a cold wait at the wrong time.
One theme you should plan for: if conditions are poor, the tour can be canceled and you may need to reschedule. And if you don’t see the lights, the offer is to join again free of charge—so you get another chance without paying twice.
Still, there’s one caution worth noting: when you go back for another attempt, you don’t always end up with the same type of group experience. The goal is the aurora, not guaranteed sameness in every operational detail.
Who should book this tour?
This fits best if you:
- Want the best odds without doing your own driving and decision-making
- Prefer a small group over huge coach crowds
- Like having a guide explain what you’re seeing, plus offer basic photography help
- Can commit to winter prep: warm layers, gloves, hat, and solid shoes
It’s not suitable for children under 3, so families with very young kids should look for other options.
If you’re the kind of traveler who enjoys nature surprises but also hates wasting time, this tour is a good match. You get structure, comfort, and a serious focus on getting you into proper viewing conditions.
Should you book this Reykjavik Northern Lights tour?
I think this is a smart booking for most people trying to see the Northern Lights on a tight Iceland schedule. You’re paying for less uncertainty: transport, small-group handling, blankets, and a guide who chooses the viewing spot based on night conditions.
I’d book it if:
- You’re traveling in the winter aurora season (late August through April)
- You want a guided boost and don’t want to gamble on your own navigation
- You can dress warmly and wait patiently in the dark
- You appreciate the idea of a free return attempt if the first night doesn’t deliver
I might hesitate if:
- You’re extremely sensitive to cold and won’t tolerate waiting outside
- You’re hoping for guaranteed results no matter what (this tour is honest that it depends on weather)
- You’d rather control everything yourself with a rental car
If you want an organized night with a real shot at seeing the aurora, this tour gives you that plan. You just have to meet it halfway with warm gear and a little patience.
FAQ
Where do I meet for the Northern Lights tour?
You meet at the BSI Bus Terminal. Plan to be there 30 minutes prior to the departure time.
How big is the group?
This is a small group tour with a maximum of 19 people.
How long is the tour?
The tour duration is 3 hours.
Is seeing the Northern Lights guaranteed?
No. The tour depends on weather and sightings are not guaranteed. You should check your email for updates before you go.
What should I bring?
Bring warm clothing, a hat, hiking shoes, and gloves.
Are food and drinks included?
No. Food and drinks are not included.
Will I have help with photos?
If you’re interested, ask the guide for some basic information on how to take the best pictures of the Aurora.
What if I don’t see the lights on the first try?
If you do not see the Northern Lights the first time round, you can join the tour again free of charge.
Is the tour in English?
Yes, the live guide language is English.