REVIEW · LONGYEARBYEN
Svalbard: Northern Lights Photography Tour with local expert
Book on GetYourGuide →Operated by See & Explore · Bookable on GetYourGuide
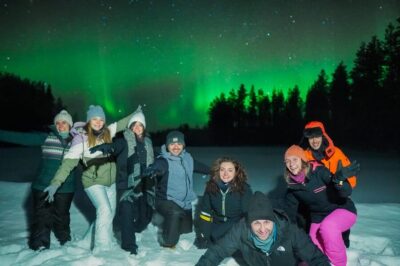
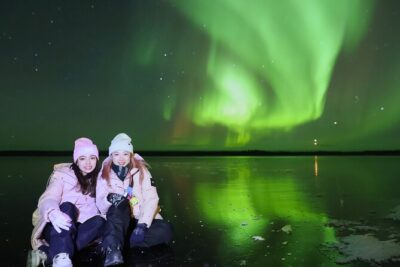
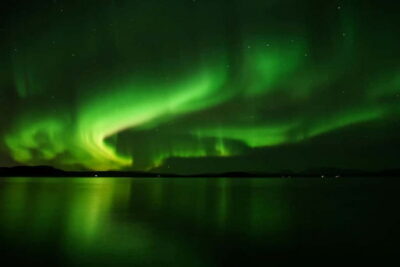
Aurora hunting in Svalbard feels unreal. This tour is interesting because you get hotel pickup in Longyearbyen and photography setup help from a local expert who knows where the sky usually behaves best, and how to work your camera in polar conditions. The one big consideration: sightings aren’t guaranteed since clear skies and the right conditions matter, and forecasts can shift fast.
For me, the best part is the balance. You’re not stuck staring at one spot all night; you’re moving around, then given enough guidance to actually photograph what you see. You also travel in a small group limited to 8, which makes it easier for the guide to spot issues with your settings and help you adjust quickly.
Svalbard’s winter “polar night” adds a twist: you can sometimes see aurora-like conditions both during the night and even in daylight hours. Just plan to dress for serious cold and come ready to use your gear, including a tripod and a charged phone.
In This Review
- Key things that make this Northern Lights photo tour work
- Longyearbyen pickup to the aurora hunt
- Aurora photography help, not just sightseeing
- How the tour handles the “best spots” problem
- A typical 4-hour flow, from van rides to camera time
- Polar night: why the day sky can still matter
- Weather risk and what to do about it
- What to bring (and why your checklist matters)
- Price and value: is $204 a fair deal?
- Who this tour suits best
- Should you book this Svalbard Northern Lights photography tour?
- FAQ
- How long is the Northern Lights photography tour in Svalbard?
- Where does pickup happen?
- Is the tour available only for hotels (not Airbnbs)?
- What size is the group?
- What language is the guide?
- Do I need to bring my own camera equipment?
- Are Northern Lights sightings guaranteed?
- Is this tour suitable for kids?
- What rules should I know before going?
Key things that make this Northern Lights photo tour work
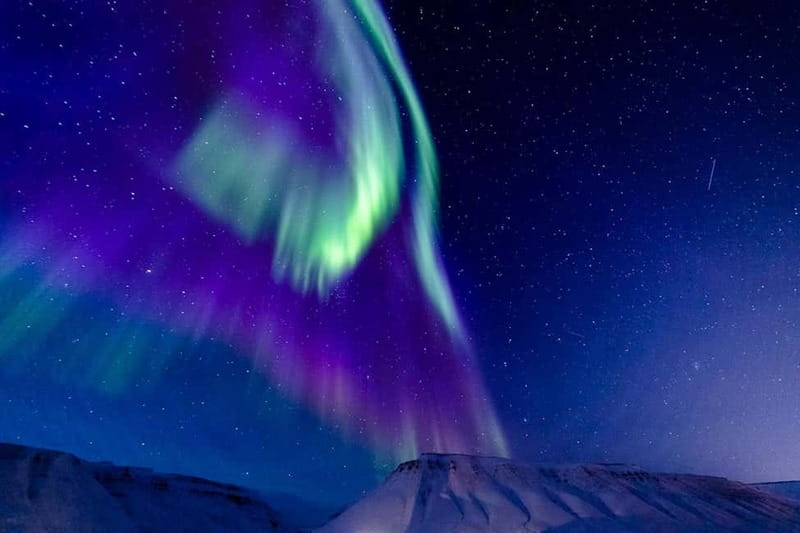
- Small group size (up to 8) means more attention at your camera setup and less crowding at photo stops.
- Hotel pickup and drop-off in Longyearbyen saves you from arranging transport in the dark and cold.
- A local photographer guide focuses on where to aim and how to set up your camera for aurora.
- You drive between likely spots so you’re not betting everything on one valley or one cloud layer.
- Polar night context explains why the sky can look different through the day in winter.
- Tripod + cold-weather planning turns you from a point-and-shoot tourist into an actual aurora shooter.
Longyearbyen pickup to the aurora hunt
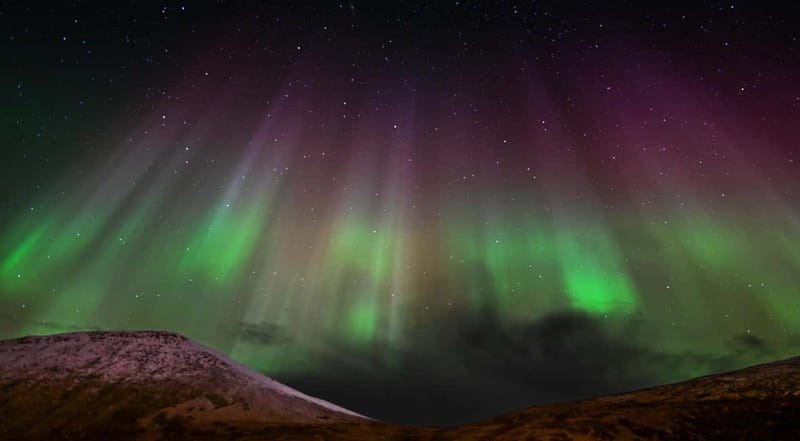
This is a simple, practical setup: you’re collected from your hotel area in Longyearbyen, then driven out in a small group to search for the best conditions. Pickup is offered at several listed locations (things like Svalbard Turistinformasjon, Basecamp Spitsbergen, Radisson Blu Polar Hotel, Mary-Ann’s Polarrigg, and the Coal Miners’ Cabin area), and your guide arrives in a blue van to pick you up within a short window.
That matters more than it sounds. In the far north, every minute counts. If you arrive late or fumble with gear outside, you lose darkness time, and you also lose warmth—both of which affect your hands and your camera steadiness.
On the road, the vibe is very much about options. The guide aims to find areas with a clearer sky and minimal light interference. Svalbard’s remoteness helps: you can get a crisp view of the sky because there’s less light pollution than in most places people travel to for the aurora.
You can also read our reviews of more tours and experiences in Longyearbyen.
Aurora photography help, not just sightseeing
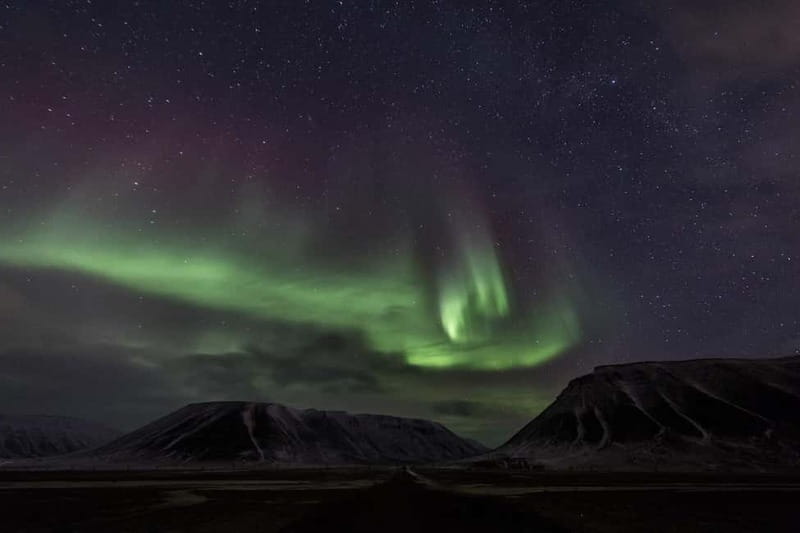
What makes this tour feel like a real photo outing is the hands-on guidance. You’re not only told where to look; you get help preparing your camera and getting your setup ready for the Northern Lights. That’s huge because aurora photography usually fails for boring reasons: focus that’s off, shutter speeds that don’t capture motion, or a tripod that isn’t stable enough.
You’ll want to show up ready. Bring your camera, a tripod, and a charged smartphone. The phone can help as a backup light source or for checking settings, but the tripod is what will keep your frame sharp when the sky starts dancing.
This is also where a guide can save you from overthinking. In past experiences on similar outings, a photographer named Tommas is known for serious passion and for taking the time to get people to the best spots. The point isn’t just finding aurora; it’s helping you translate what you see into something your camera can record.
One more practical detail: you’ll be shooting in cold weather, and your batteries will drain faster than at home. Even if the tour doesn’t emphasize it, your best results come from keeping batteries warm and minimizing time with doors open.
How the tour handles the “best spots” problem
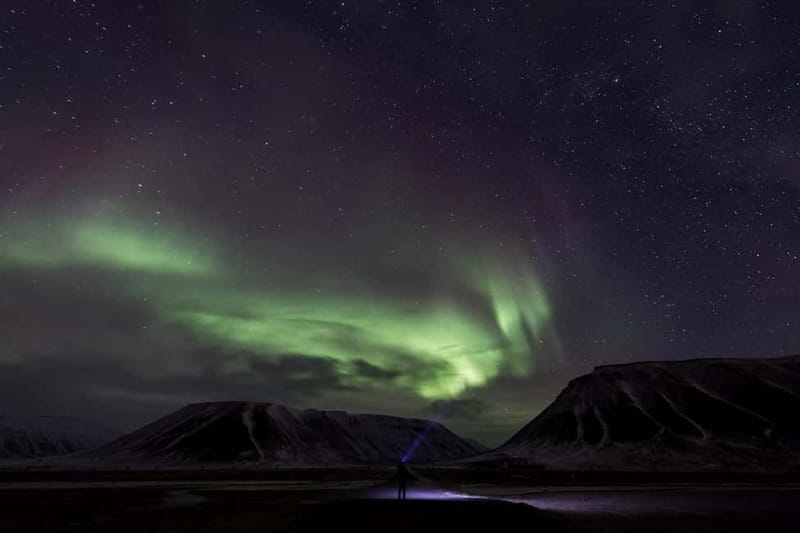
Northern Lights photography has one brutal truth: clouds win. So this tour treats the night like a moving puzzle. You’ll be driven to areas where the sky might be clearer, and the route can include multiple landscapes rather than one fixed location.
Based on what I’ve learned from similar runs, the driving part often takes hours, working through valleys and toward coastal points, and sometimes even stopping at higher ground for a clear view. One recent experience highlighted a route through valleys, then to the port area and the direction of the Vault, with multiple opportunities to photograph the aurora.
That’s the value of a local guide in Svalbard. You get someone watching the conditions and adjusting plans on the fly. It’s not magic, but it is decision-making—cloud cover, direction, and where the sky is most open.
A possible drawback: you might spend more time in the van than you expected. If you’re hoping for a relaxing stroll and zero travel, you may feel less comfortable. But if your goal is photos, mobility is part of the process.
A typical 4-hour flow, from van rides to camera time
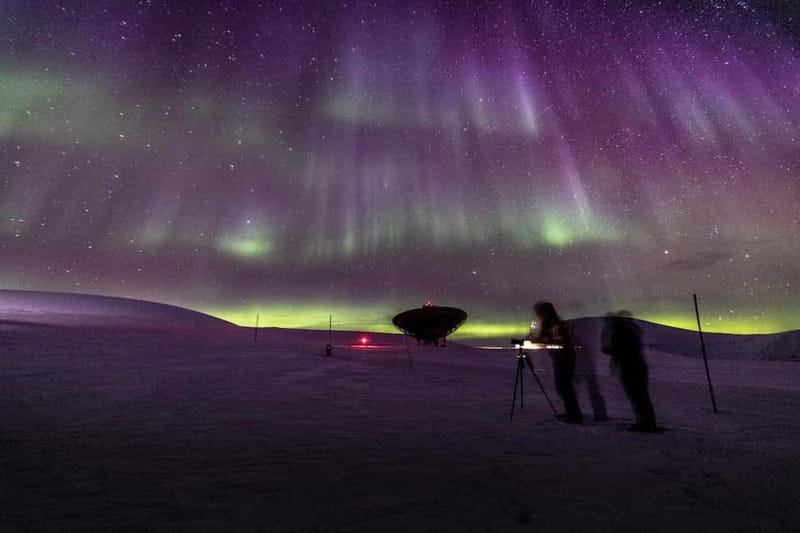
The tour is scheduled for about 4 hours total, with a guided portion listed around 4.5 hours depending on how the timing lands. You start with pickup in Longyearbyen, then you move out to search and shoot.
Here’s what that usually looks like, step-by-step:
First, you meet outside your hotel and wait for the blue van. Pickup can be a little early or a little late—within a short window—so plan to bundle up and be ready when they arrive. You’ll also want to confirm you’re not staying at an Airbnb, since pickup is for hotels and listed locations.
Then comes the drive. This is when the guide is most likely to chase clearer sections of sky and reposition for better shooting angles. In a place this far north, the landscape can be frozen flat—or it can have gentle valleys that break the horizon. Either way, moving lets you find cleaner sight lines.
Once you stop, you’ll switch from traveling mode to shooting mode. The guide helps with camera setup so you can start capturing the aurora quickly instead of guessing in the dark. This is also when tripod discipline matters: once you set it down, keep it steady and avoid touching it while exposures run.
Finally, you’re back to drop-off at your listed return points. Drop-offs mirror the pickup locations, including places like Basecamp Spitsbergen, Mary-Ann’s Polarrigg, the Coal Miners’ Cabin area, Radisson Blu Polar Hotel, and Svalbard Hotell options.
Polar night: why the day sky can still matter
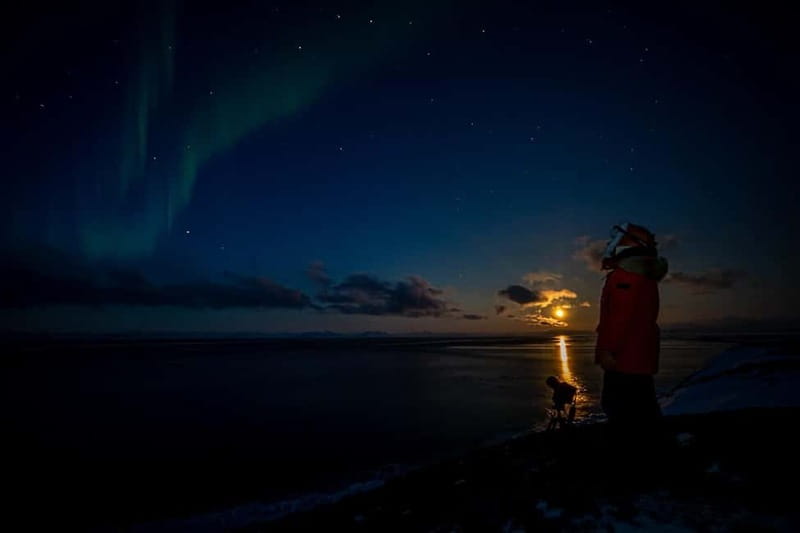
Svalbard in winter runs on polar-night logic. In this season, it isn’t just that it gets dark; it’s that the sun can stay out for stretches of time, so the “night” can last far longer than you’d expect. That’s why aurora can show up in what you’d normally think of as daytime hours.
The tour specifically notes that during polar nights, you can experience Northern Lights in both nighttime and daytime conditions. The important reality check is that this still depends on two things: you need clear weather, and you need the sun and aurora conditions to cooperate. So you’re not guaranteed aurora simply because the calendar says winter.
What you can control is your preparation. Dress for cold, bring the tripod, and be ready to shoot whenever the sky decides to show you something. In winter, the sky’s timing can be abrupt—start photos early, not late.
Weather risk and what to do about it
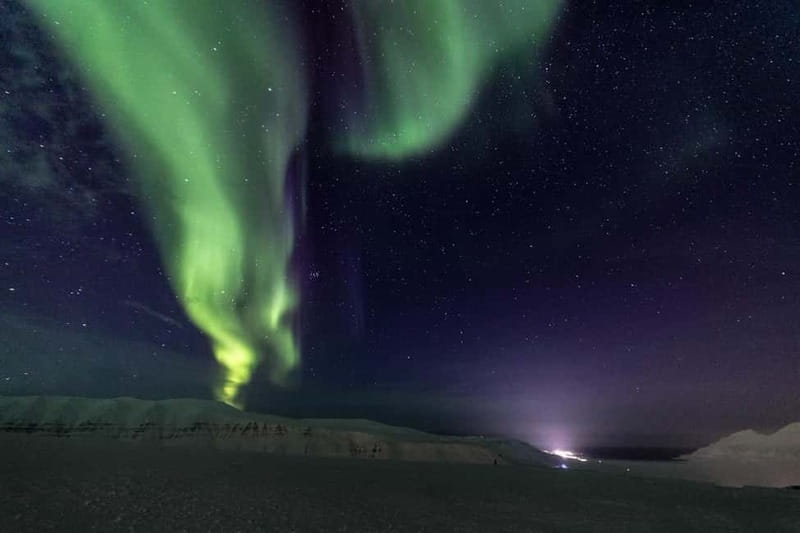
Northern Lights tours always carry a weather risk. This one is honest about it: forecasts can be inaccurate in Longyearbyen, and sightings can’t be guaranteed. Trips may be rescheduled or cancelled depending on conditions.
So what should you do? If your schedule allows, book closer to the tour start time. That gives you the best chance to match the latest information about cloud cover and sky clarity. Also, treat the outing like a photography workout, not a guaranteed fireworks show. If you come expecting the aurora, you’ll get frustrated. If you come expecting a chance and a plan to adjust, you’ll have a better time no matter what the sky does.
There’s also a comfort angle. When you’re cold, it’s harder to focus, harder to adjust camera settings, and easier to make silly mistakes. Warm layers and gloves that still let you operate your camera will change your results.
What to bring (and why your checklist matters)
The tour gives a clear packing list, and it’s there for a reason. Bring:
- Warm clothing (enough for time outdoors in freezing conditions)
- Camera (ready to shoot, not just charged)
- Charged smartphone (useful as backup and for quick checks)
- Tripod (essential for steady aurora exposures)
If you skip the tripod, you can still take photos, but you’ll fight blurred results and shaky framing—especially with long exposures. If you bring the tripod and a camera with manual controls, you’re much more likely to get the colors and motion you’re hoping for.
Also note the rules: no smoking and no alcohol or drugs during the tour. This is common for safety and respect in remote, cold environments.
Price and value: is $204 a fair deal?
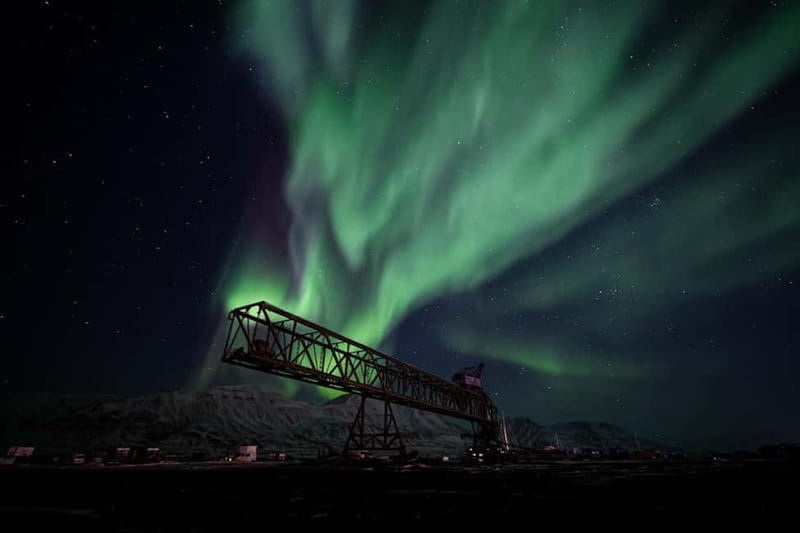
At $204 per person for roughly a 4-hour experience, the price sits in the mid-to-upper range for Northern Lights photography tours. The big question is what you’re buying.
You’re paying for three things that are hard to replicate on your own:
- Transport from Longyearbyen to likely aurora areas.
- A photographer guide who helps you set up your camera instead of leaving you to guess.
- Small-group attention so your adjustments actually happen while you’re on location.
If you’re just chasing the aurora with a camera you don’t fully understand, a guide can be the difference between blurry disappointment and images you’re proud to keep. If you already know aurora settings well and you’re comfortable driving yourself in winter, you might question the price. But most people benefit from having a local expert watching conditions and helping with setup.
The best value is when you want both: the experience of Svalbard at night and the actual photography skills to match.
Who this tour suits best
This is a strong fit if you:
- Want an aurora experience with real photography guidance
- Prefer a small group instead of a crowded bus ride
- Have a camera that you can set up with manual controls
- Are traveling in winter and want someone local to help you find photo-friendly viewing areas
It’s not the best fit for:
- Children under 6, since the tour involves cold outdoor time and photography-focused stops.
- Anyone who is uncomfortable standing still outdoors while waiting for the sky to cooperate.
Should you book this Svalbard Northern Lights photography tour?
If your goal is aurora photos—not just aurora sightings—this tour makes a lot of sense. The small group size, hotel pickup in Longyearbyen, and the focus on camera setup are exactly what help most people get better results in the Arctic.
Book it if you can dress for cold and you accept the reality that clear skies are the deciding factor. Don’t book it expecting guaranteed lights, perfect weather, or a leisurely schedule with no driving.
FAQ
How long is the Northern Lights photography tour in Svalbard?
The tour duration is listed as 4 hours, with the guided portion noted as 4.5 hours.
Where does pickup happen?
Pickup is included from several hotel and listed locations in Longyearbyen. You should wait outside your hotel, and the van arrives in a short window around the start time.
Is the tour available only for hotels (not Airbnbs)?
The tour states they do not pick up at Airbnbs, so pickup is for hotels and the listed locations.
What size is the group?
The group is limited to a small size, with a maximum of 8 participants.
What language is the guide?
The live guide speaks English.
Do I need to bring my own camera equipment?
Yes. You should bring your camera and a tripod. A charged smartphone is also recommended.
Are Northern Lights sightings guaranteed?
No. Northern lights sightings cannot be guaranteed, and they depend on clear weather and aurora conditions.
Is this tour suitable for kids?
It is not suitable for children under 6 years.
What rules should I know before going?
Smoking is not allowed, and alcohol and drugs are not allowed during the tour.