REVIEW · FAIRBANKS
Capturing the Ethereal Beauty: Northern Lights Photo Workshop
Book on Viator →Operated by Capture Wild Alaska · Bookable on Viator
Aurora night photography gets taught, not guessed. In Fairbanks, this 5 to 6 hour Northern Lights photo workshop pairs one-on-one guidance with real dark-sky time, so you spend less effort wrestling settings and more effort making images. I also like the small group size, which keeps the vibe calm and lets your instructor notice what you’re doing (and fix it) instead of rushing through the basics.
The main consideration is simple: you’re out at night, and the experience depends on conditions. Expect a late start at 9:30 pm and plan for cold, since you’ll bundle up and hop in and out of the vehicle more than once, even with heated seats waiting for you inside.
In This Review
- Key things I’d plan around
- Fairbanks After 9:30 PM: Why This Aurora Photo Workshop Feels Different
- Your Night Ride: Heated Seats, Sunroofs, and a Small-Group Pace
- Dark-Sky Stops: The Real Advantage of Getting Away From Light Pollution
- How the Instruction Actually Helps (Instead of Overloading You)
- The 6-Hour Flow: What Your Night Looks Like From Start to Finish
- Gear, Tripods, and the Included High-Res File
- Comfort Matters: Snacks, Warm Drinks, and Cold-Weather Reality
- Price and Value: Is $485 Worth It?
- Who This Tour Suits Best (and Who Might Want to Think Twice)
- Booking Smart: Timing and What to Pack
- Should You Book Capture Wild Alaska’s Northern Lights Photo Workshop?
- FAQ
- What time does the Northern Lights photo workshop start?
- How long is the workshop?
- Do you pick me up from my hotel in Fairbanks?
- What group size should I expect?
- Is camera gear included?
- Are tripods available?
- What photo-related items are included?
- What happens if weather is poor?
- Is this a private tour?
- Can I bring a service animal?
Key things I’d plan around
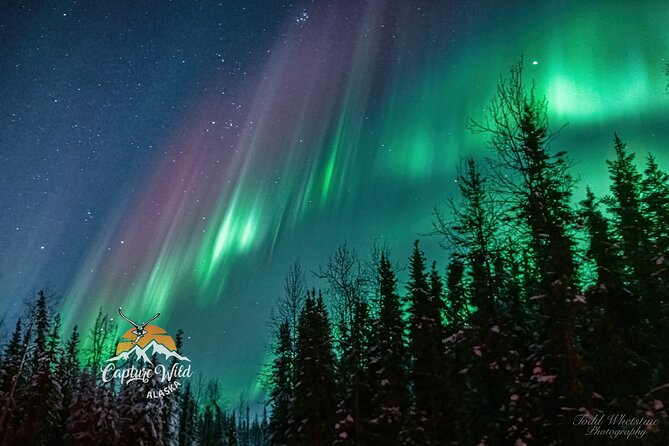
- Grand Wagoneer comfort with triple sunroofs for better viewing while you wait
- Max five guests so you get real attention, not a lecture for a crowd
- Pickup from your Fairbanks lodging and transport to darker skies away from light pollution
- Practical Aurora camera instruction for all skill levels, including advanced beginners
- Included refreshments plus photo deliverables like a group photo and a free high-res file
Fairbanks After 9:30 PM: Why This Aurora Photo Workshop Feels Different
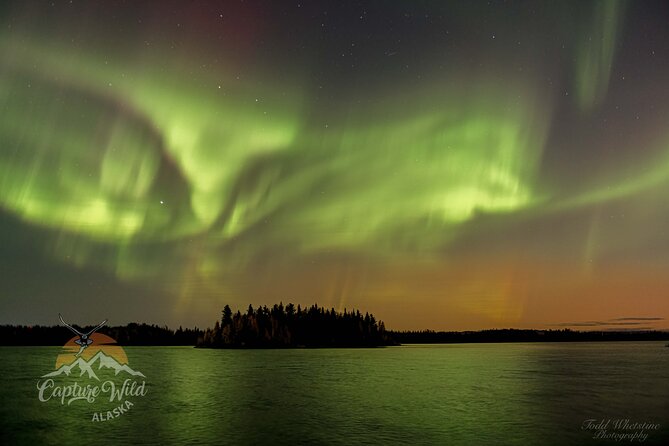
This is not the kind of Aurora trip where you stand around hoping your phone magically “gets it.” You’re in a guided photo session in Fairbanks, timed for peak dark-night conditions, and designed to help you turn “I saw the lights” into “I made images I’m proud of.”
I like the structure because it reduces the biggest beginner problem: confusion. Apps can be loud, and camera settings can feel like a maze. Here, the focus is on what matters for Aurora photography and learning how to adjust what you control when the light show starts changing.
Also, this is built for varying levels. Beginners are welcome, which means you won’t feel punished for not already knowing what shutter speed or ISO does. And if you’re an advanced beginner, you’ll likely appreciate the way your instructor can spot the one or two things holding your images back.
The workshop lasts about 5 to 6 hours, which is long enough to make progress without dragging all night. That’s a real value point: you’ll have time to experiment, not just take one quick shot and call it a success.
You can also read our reviews of more tours and experiences in Fairbanks.
Your Night Ride: Heated Seats, Sunroofs, and a Small-Group Pace
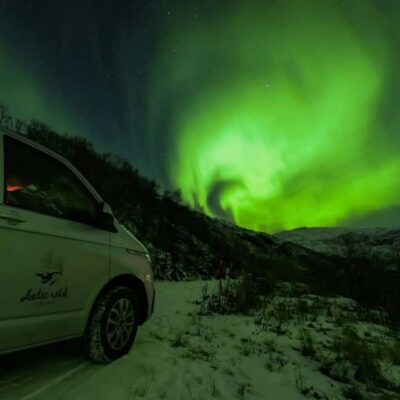
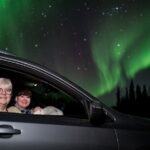
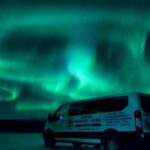
Pickup matters for Aurora nights, because you don’t want to be figuring out transport and meeting points at 9:30 pm. The pickup is from your local Fairbanks lodging, and you’ll ride in the outfitted Grand Wagoneer with heated seats and triple sunroofs. That’s a smart setup for aurora viewing—less scrambling outside, and more time looking up.
The small group size is the other big deal. They take only five guests at a time, which makes the trip feel more like coaching than touring. You’ll likely get faster feedback, and you won’t be waiting while someone else gets help with basic setup steps.
One thing to remember: you’ll get in and out of the vehicle multiple times. Even with heated seats, you should treat this as an outdoor night plan. The vehicle is comfort, not a full substitute for winter gear.
Dark-Sky Stops: The Real Advantage of Getting Away From Light Pollution
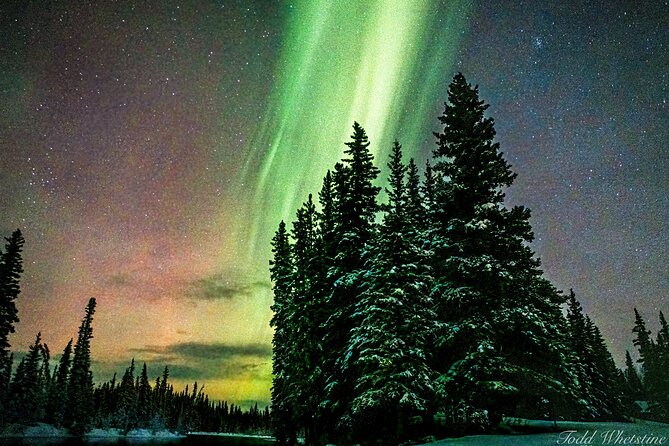
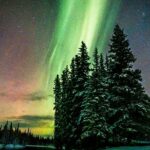
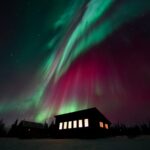
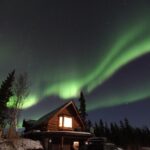
Auroras are dramatic, but they’re also sneaky for cameras. Light pollution can wash out details and make exposure choices harder. This workshop tackles that by taking you to favorite Aurora shooting spots away from light pollution—the kind of decision that turns a “meh” night into a night with clear structure in your photos.
You don’t just ride to one spot and hope. You’re transported to areas specifically chosen for Aurora shooting, which matters because the sky quality changes fast from place to place. If your goal is learning how to photograph the aurora, the setting is part of the lesson, not just a backdrop.
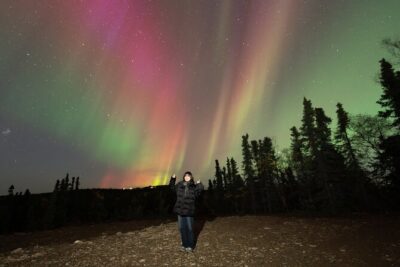
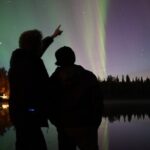
And because your instructor is guiding you, you’re not only learning to press buttons. You’re learning why the sky and the scene matter: what open sky looks like through your viewfinder, how to frame the lights, and how to position yourself so the aurora isn’t blocked by trees or structures.
How the Instruction Actually Helps (Instead of Overloading You)
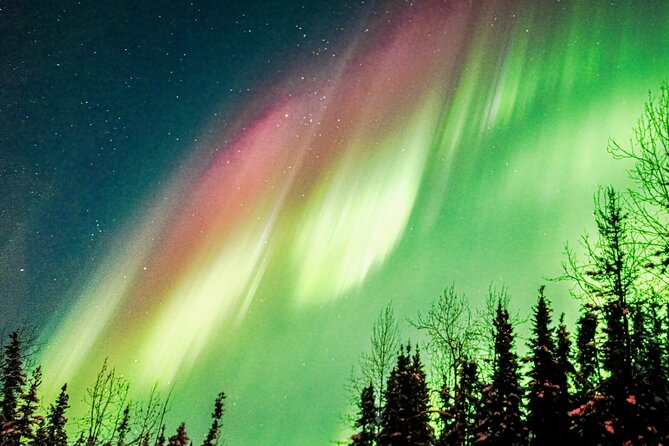
This workshop includes individualized photography instruction, and that wording is important. Aurora photography has a lot of moving pieces: focus, exposure, stability, and composition. If all of that is thrown at you at once, you leave with a memory of confusing settings and a few blurry images.
Here, you get coaching that matches where you are in your photography journey. In one private Aurora night with a guide named Todd, the guest described themselves as an advanced beginner and said Todd quickly understood their level and adjusted his teaching accordingly. They also highlighted that he focused on what’s important and what’s not—exactly what you want when there are endless camera settings and an equal number of aurora apps.
That same guest also shared a practical takeaway: they had not seen truly dark sky before, and Todd helped them find an open sky. If you’ve never shot under darker conditions, that alone can be a game-changer for how your camera responds.
Even better, the night wasn’t only about shooting. The guide built a personal connection during breaks between active aurora moments (so it felt human, not robotic). That matters because comfort affects learning. If you feel rushed or embarrassed about asking questions, you stop experimenting. A calmer coaching style keeps you trying again when the lights shift.
The 6-Hour Flow: What Your Night Looks Like From Start to Finish
You start at 9:30 pm, and the tour is designed around getting you settled and ready before the aurora ramps up. Pickup happens from your lodging, then you head out to the darker areas.
From there, the rhythm is basically:
- Find open sky and get positioned
- Set up (tripod if you need one) and lock down your camera approach
- Shoot while the aurora changes
- Get feedback and adjust what matters
- Repeat as conditions shift
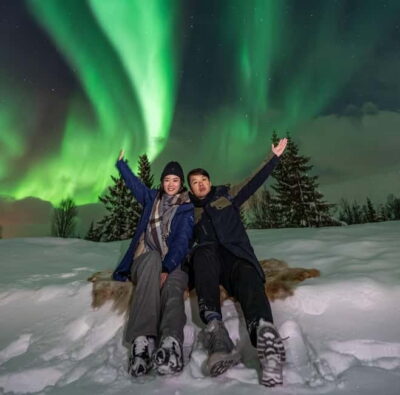
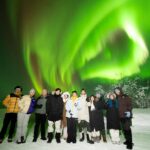
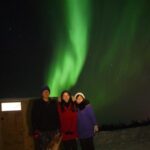
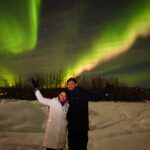
The workshop includes a group photo, which is a nice touch. It’s easy to feel like you’re spending the whole night behind your camera, so having one shared image also helps you remember the group experience.
If you’re bringing your own camera, expect coaching to focus on turning your knowledge into consistent results. If you’re renting gear—or using a tripod you didn’t bring—expect help getting stable, getting set up quickly, and getting your exposure choices under control.
Gear, Tripods, and the Included High-Res File
Let’s talk gear, because this is where many people either save money or accidentally spend it.
What’s included:
- Tripods are available if needed
- A group photo
- Coffee and/or tea (plus hot chocolate and bottled water)
- A free high-resolution file for printing
- Option to buy other prints
What’s not included:
- Camera gear (though a rental camera can be purchased in advance for $35)
That free high-res file is one of the most practical value boosters in the whole package. Aurora photos can look great on a phone screen and fall apart when you try to print. Getting a high-res digital file included means you’re not only paying for instruction—you’re also paying for a result you can actually use.
If you don’t have a tripod, don’t panic. Tripods are available. But if you do own one, bring it. A familiar tripod means faster setup, less fumbling, and more time spent shooting.
And if you’re thinking about renting a camera: plan ahead. The rental camera can be purchased in advance for $35, so it’s better to sort that decision before you arrive rather than deciding in the cold.
Comfort Matters: Snacks, Warm Drinks, and Cold-Weather Reality
This workshop is designed for winter nights, so it includes snacks and drinks plus hot beverages. You’ll get coffee or tea, and they also provide hot chocolate and bottled water. That’s not a random perk—it’s practical. If you’re cold, your hands get slow. If your hands get slow, your camera becomes harder to manage, and your shots suffer.
You should still dress like you’re going to be outside. The pickup vehicle has heated seats, but you’ll be getting in and out multiple times. Bring warm layers, a good coat, hat, gloves, and insulated footwear. Treat this as a winter survival checklist, not casual sightseeing.
Also, the fact that the vehicle has triple sunroofs tells you they expect you to be looking up from inside sometimes. That can help you keep your core warm while you wait for the sky to respond.
Price and Value: Is $485 Worth It?
At $485 per person, this isn’t a “cheap and casual” Aurora outing. But it also isn’t just transport and a vague tip about camera settings.
Your price covers:
- Pickup and transport to darker Aurora spots away from light pollution
- A small group (only five guests)
- Individualized instruction
- Tripod availability if needed
- Snacks and hot drinks
- A group photo
- A free high-res file for printing (plus optional prints)
When I think about value, the big question is: does the price buy you more keepers, faster learning, or both? For Aurora photography, getting better quickly is everything. If the workshop helps you go from not knowing how to shoot Aurora to making consistent images, that’s a real payoff—and the small group size makes that kind of coaching possible.
The $35 rental camera option is also part of the value math. If you’re planning to borrow or rent because your own setup isn’t ideal, you can budget that extra cost up front instead of being stuck on a raw midnight decision.
Who This Tour Suits Best (and Who Might Want to Think Twice)
This is a strong fit if:
- You want to learn Aurora photography, not just watch the sky
- You’re a beginner or advanced beginner who benefits from direct feedback
- You prefer small groups and slower, more personal instruction
- You care about getting a high-res photo you can print
You might think twice if:
- You’re hoping for a guaranteed Aurora show. The experience is weather-dependent, and the night depends on conditions.
- You already have a solid Aurora workflow and don’t need coaching. You could still enjoy the dark-sky locations and tripod help, but you may be paying primarily for logistics and comfort.
For most people, though, this kind of workshop is the quickest path to better photos because it reduces guesswork.
Booking Smart: Timing and What to Pack
This experience tends to get booked ahead—on average 61 days in advance—so if you want a specific date, don’t wait until the last minute. Aurora seasons can be busy, and small-group sessions sell out.
For packing, focus on the essentials mentioned for comfort:
- Warm layers, including a thick coat
- Hat and gloves
- Insulated footwear
- Anything you need to stay comfortable during repeated outside-to-inside moments
If you have a tripod, bring it. If you don’t, you can request tripod availability. If you’re considering a rental camera, plan for the $35 rental purchased in advance.
And since this includes a mobile ticket and confirmation at booking, make sure you can access your phone when you arrive.
Should You Book Capture Wild Alaska’s Northern Lights Photo Workshop?
If you want your first Aurora photos—or your next level up—to come with real guidance, I think this workshop is an easy yes. The combination of small-group attention, dark-sky shooting locations away from light pollution, and instruction built for all skill levels makes it a practical learning experience.
The only hard stop is weather. You’re doing this outside, and the night needs good conditions to work well. If you’re the type who can handle winter and plan your clothing accordingly, you’ll likely have a rewarding evening where you leave understanding your camera better and walking away with a free high-res file you can actually print.
FAQ
What time does the Northern Lights photo workshop start?
It starts at 9:30 pm.
How long is the workshop?
It runs about 5 to 6 hours.
Do you pick me up from my hotel in Fairbanks?
Yes. Pickup is offered from your local Fairbanks lodging.
What group size should I expect?
The tour takes only five guests at a time.
Is camera gear included?
Camera gear is not included. A rental camera can be purchased in advance for $35.
Are tripods available?
Yes. Tripods are available if needed.
What photo-related items are included?
You’ll get a group photo and a free high-resolution file for printing, plus an option to buy other prints.
What happens if weather is poor?
The experience requires good weather. If it’s canceled due to poor weather, you’ll be offered a different date or a full refund.
Is this a private tour?
Yes. It’s a private tour/activity, and only your group will participate.
Can I bring a service animal?
Service animals are allowed.