REVIEW · ABISKO
Abisko: National Park Northern Lights Photo Tour
Book on GetYourGuide →Operated by Lights Over Lapland · Bookable on GetYourGuide
The sky can switch on fast in Abisko. This northern lights photo tour is built around the odds of clear skies in Abisko National Park, plus real photo coaching so you’re not just staring at the dark. You get picked up locally, handed aurora-ready camera gear, and guided into the best chances for the aurora to show up.
I love the three-pronged approach to chasing the aurora: you may go on foot to a nearby teepee, switch to a 4×4 van hunt when conditions change, or ride to a wilderness camp on a sleigh pulled by a snowmobile. I also like that you’re not thrown into the Arctic with only vibes—there’s a quick, practical DSLR primer so you can actually make a night-sky image instead of guessing settings.
The main drawback is simple: this is active. You’ll likely walk in snow and cold, so you need serious warm layers under the provided overalls, and you should plan to bring your own SD card since it’s not included.
In This Review
- Quick Hits Before You Go
- Abisko National Park and the Aurora Odds
- The 4-Hour Rhythm: Pickup, Gear, and a Real Hunt
- Three Ways to Chase the Lights (and Why You Want Options)
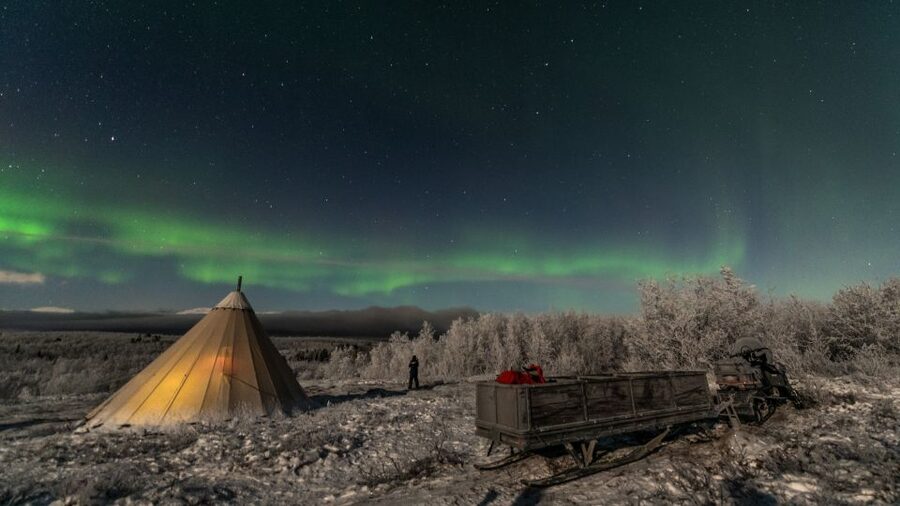
- On foot to a nearby teepee
- Chase the aurora in a 4×4 van
- Sleigh ride to a wilderness camp
- Camera Time: DSLR Gear, Presets, and Settings You Can Use
- What the Guides Add Beyond the Photos
- Warmth, Snacks, and the Reality of the Arctic Night
- Price and Value: Why $176 Can Be Worth It
- Weather, Clouds, and How the Plan Stays Flexible
- Who Should Book This Abisko Photo Tour
- Should You Book the Abisko Northern Lights Photo Tour?
- FAQ
- How long is the Abisko National Park Northern Lights Photo Tour?
- What’s included with the tour?
- Do I need to bring a memory card?
- What pickup area does the tour cover?
- What time does pickup happen?
- What should I wear or bring?
- Is the tour suitable for children?
Quick Hits Before You Go
- Abisko’s clear-sky reputation: the guide uses Abisko National Park because it often delivers better aurora conditions than you’ll find elsewhere.
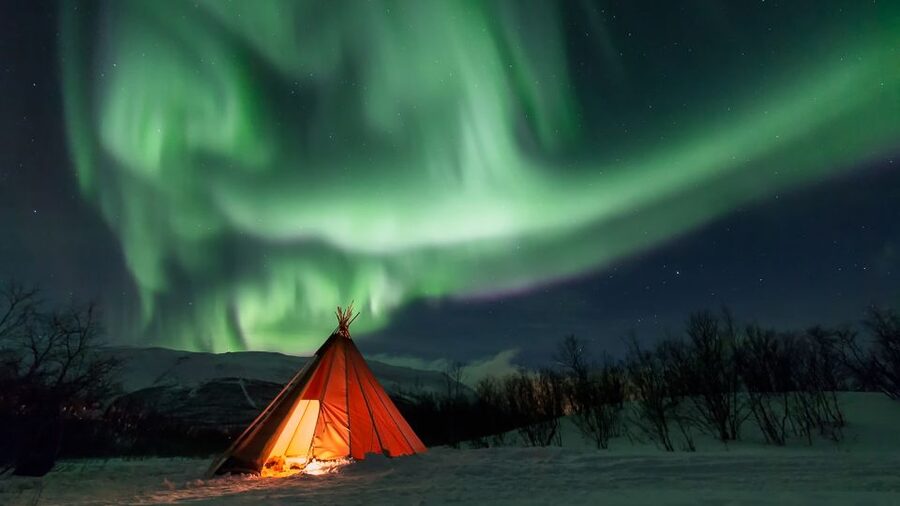
- Three chase styles: teepee on foot, chase by 4×4 van, or a sleigh ride to a wilderness camp—weather and forecast dictate the plan.
- DSLR support that starts fast: the camera and lens are preset for auroras, plus you get basics on finding and photographing the lights.
- Small groups (8 max): you’ll get more personal help with camera setup and staying on track in the cold.
- Warm-up breaks included: warm drink and a small snack are part of the tour, and there’s often a fireplace tent to take the edge off.
Abisko National Park and the Aurora Odds
Abisko is one of the most famous places for aurora viewing in northern Europe, and the reason is practical: it’s known for a higher chance of clearer skies. When the sky stays open, your odds go way up, because the lights are visible only if clouds don’t block them.
What I like about this tour is that it’s designed around that reality. Instead of promising a guaranteed show, you get a structured chase based on conditions and the aurora forecast, so the evening stays purposeful even when the sky is moody. That approach also helps photographers, because you’re moving toward better viewing angles and experimenting with settings with the guide’s feedback.
You can also read our reviews of more tours and experiences in Abisko.
The 4-Hour Rhythm: Pickup, Gear, and a Real Hunt
This is a tight, four-hour outing, and that’s a good thing. In aurora season, you’re working against the clock and the sky—long tours can turn into waiting games, while short tours push you to spend more time where it counts.
You’ll start with pickup in Abisko-area accommodations (there are five specific pickup options, and pickup runs in the evening). The key is timing: most departures start around the 7:10 PM–7:45 PM window depending on where you’re picked up. The tour then focuses on getting everyone set up quickly—gear in your hands, camera settings you can understand fast, and a guide who knows where and when to look.
By design, you should expect at least 3 hours of searching and photographing. That means you’re not just standing around for a quick glance and a photo or two. The “ultimate” part of the adventure is that you’re actively hunting, and the plan can shift during the night if the conditions do.
Three Ways to Chase the Lights (and Why You Want Options)
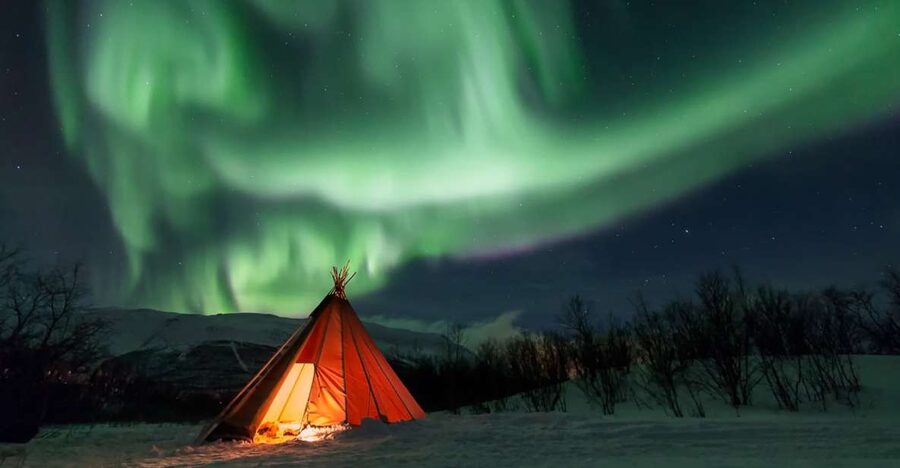
Here’s the smart part: you’re not locked into one location or one transport method. The tour offers three different ways to see and photograph auroras, and the guide picks among them based on weather and the aurora forecast.
On foot to a nearby teepee
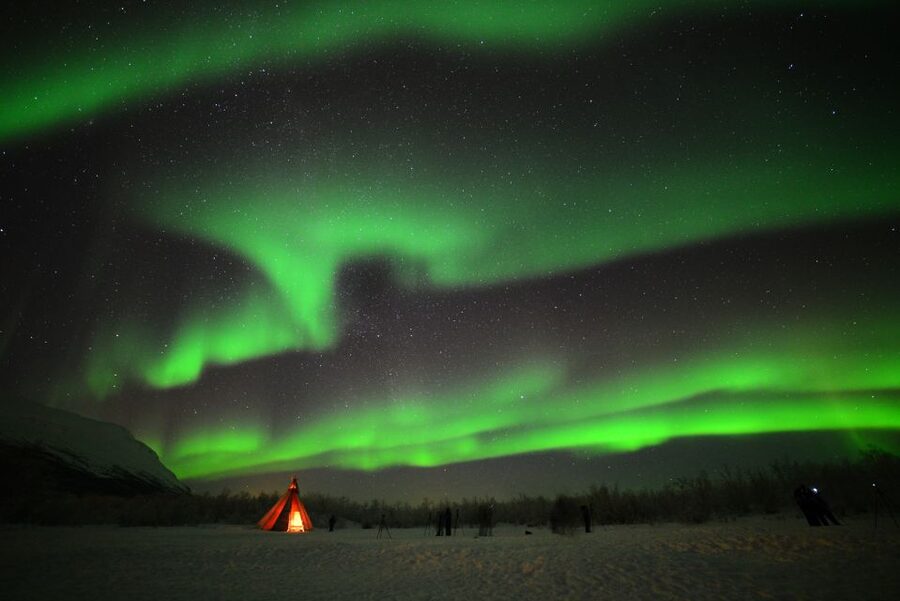
Walking to a nearby teepee is often the fastest route to a clean view when conditions look promising. You’ll get outside, stabilized on the ground, and set up for photos without losing time to travel. The benefit for photographers is simpler composition control—you can frame the sky, try your settings, and concentrate on timing the light when it appears.
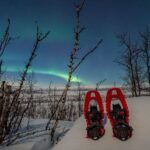
The tradeoff is that walking in cold is real work. You’ll need warm boots and layers, and you should expect snow underfoot. If you’re not comfortable moving in winter conditions, you may want to plan for that before booking.
Chase the aurora in a 4×4 van
When the forecast shifts or a better patch of sky opens up, the van option helps you respond quickly. You’re trading a bit of setup time for mobility, which can matter if clouds slide through or the aurora intensity changes.
This mode can be especially useful if you’re traveling alone with no local transportation. You’re basically outsourcing the driving decisions to a guide team that’s focused only on spotting the lights.
Sleigh ride to a wilderness camp
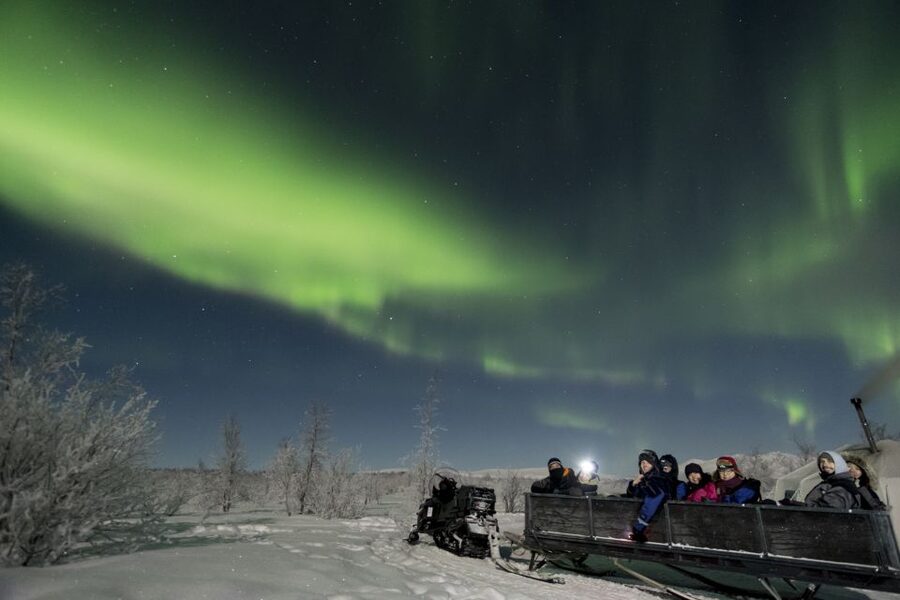
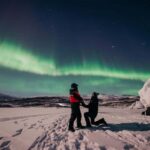
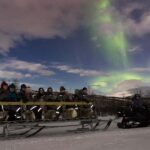
The sleigh ride is the most dramatic-feeling option, and it also has a practical goal: getting out to a wilderness camp in and around Abisko National Park. Being farther into darker areas can make the aurora stand out, and it gives you space to slow down, set up, and shoot without worrying about city lights in the background.
The downside is obvious: you’ll still be outdoors and cold. The tour helps with warm overalls and the nighttime gear, but you should still come prepared for Arctic conditions.
Camera Time: DSLR Gear, Presets, and Settings You Can Use
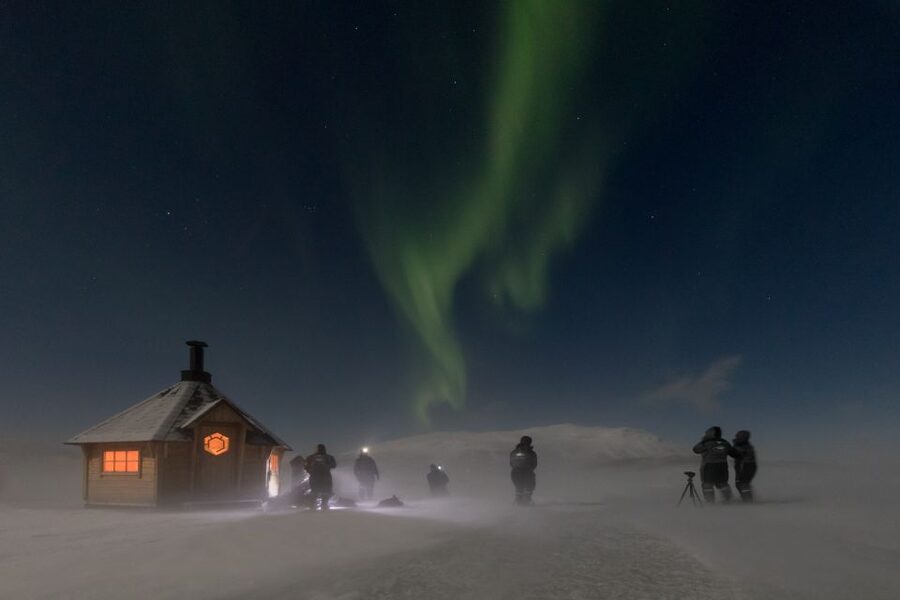
If you’re new to night photography, this tour has a big advantage: the DSLR camera & lens you rent are preset to capture the northern lights. That reduces the intimidation factor. Instead of spending your first 20 minutes fumbling with menus, you can start learning the pattern—focus, exposure, and timing.
You’ll also get a basic rundown on how to find and photograph the aurora borealis. In plain terms, this matters because auroras don’t behave like a normal photo subject. The lights move, the brightness changes, and your settings have to match that. A guide can help you avoid the classic beginner trap: shooting with settings that make the sky either too bright or too empty.
A small but important detail: you need to bring a plan for storage. A 16 GB SD memory card is not included, so you’ll want to budget for that. If you show up without it, you’re basically photo-less even if the aurora puts on a show.
Also check lens expectations. A deluxe ultra-wide 14 mm lens upgrade is listed as not included, so if you’re chasing ultra-wide aurora shots, ask about the upgrade in advance so it’s not a last-minute surprise.
What the Guides Add Beyond the Photos
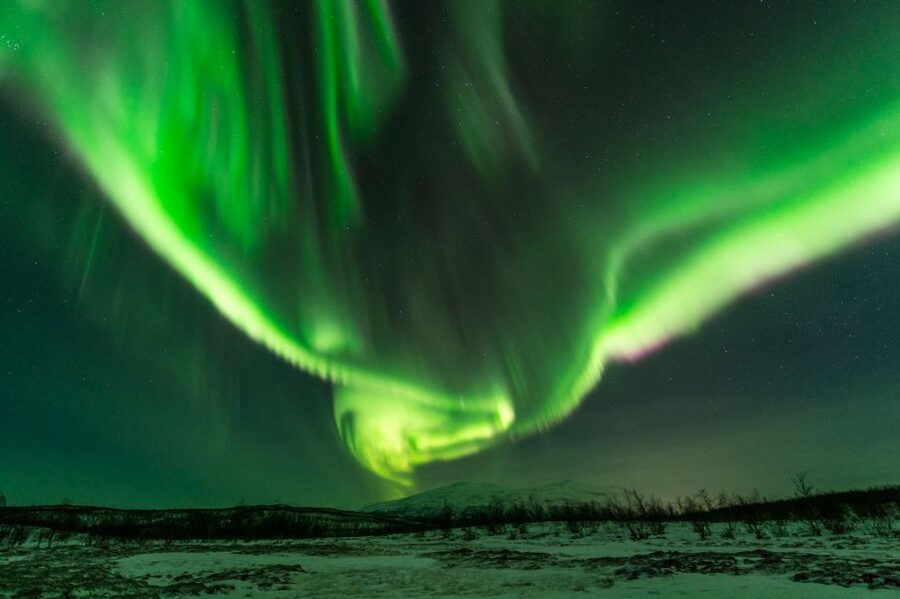
Even with perfect skies, aurora hunting is part science and part storytelling. This tour includes time to discuss the way locals interact with nature and how northern lights interpretations have been part of the region for centuries. It’s not a lecture vibe. It’s meant to connect you to Lapland beyond the photo opportunity.
You may also notice a consistent theme in how guides are described: they stay calm, keep people warm, and explain the aurora using terms tied to solar activity and what you’re seeing overhead. Past guide names include Marco, Mateo, Gavin, Miquel, Anne, Oliver, and Alex, and they’re often praised for being prepared, patient, and supportive with camera help.
One especially useful detail for beginners is that you’ll get assistance with the camera setup and shooting process during the night—not just at the start. If you want photos that look like aurora photos instead of blurry snow-dot lights, this kind of on-the-spot help matters.
Warmth, Snacks, and the Reality of the Arctic Night
Cold changes everything: it affects your fingers, your breathing, and your ability to work a camera tripod. This tour plans for that by providing warm overalls and a head lamp, plus a warm drink and small snack.
Boot rental is also mentioned as available during tours, but it’s not automatically included. The main instruction you should follow is practical: bring warm shoes, and layer under the provided overalls. If you’re relying on thin base layers, you’ll feel it fast when the aurora chase shifts to walking or waiting outdoors.
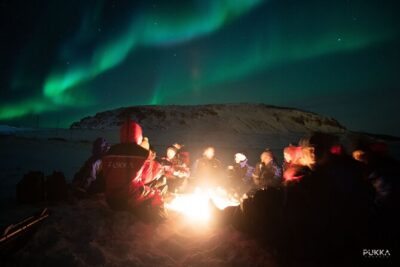
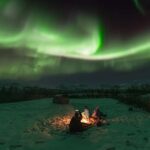
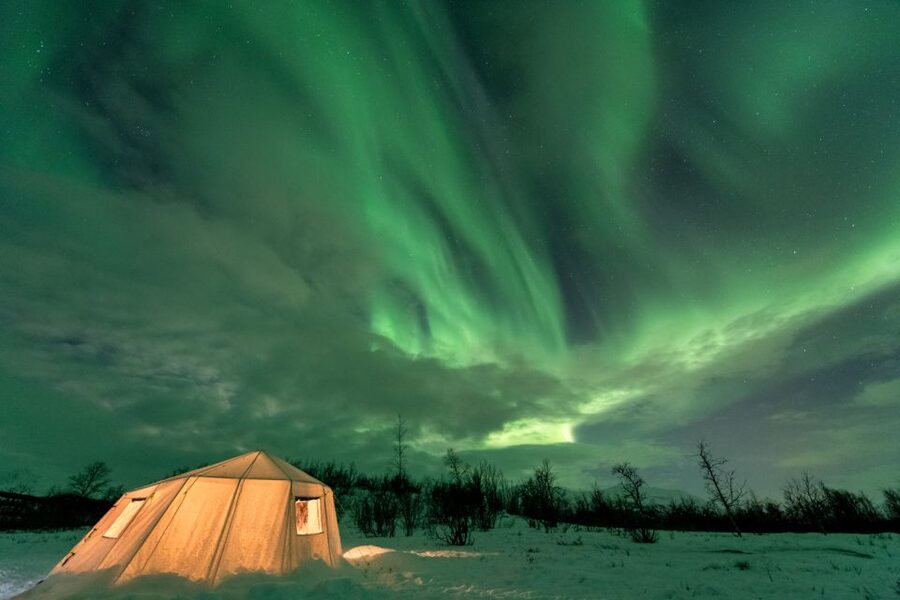
Several guides are described as using a warming tent with a fireplace during the wait—when the sky doesn’t cooperate immediately, it’s a big morale boost. Even if the aurora starts slow, having a place to thaw out makes the experience feel like a night out instead of a survival test.
Price and Value: Why $176 Can Be Worth It
At $176 per person for a 4-hour outing, the value is best understood by what’s included. You’re getting a guide, pickup from Abisko-area hotels, DSLR camera and lens rental, tripod and backpack gear, warm overalls, and a head lamp—plus a minimum of 3 hours hunting and photographing.
You’re also getting transport options built into the chase. The tour can involve a 4×4 van and/or a sleigh pulled by a snowmobile, and those aren’t the kind of extras you want to price out separately once you’re already in Sweden.
What’s not included is equally important for value:
- 16 GB SD card
- Boot rental (if you need them)
- Deluxe ultra-wide 14 mm lens upgrade
- Tour t-shirt
If you already own your own camera system and winter gear, your savings may be smaller. But if you don’t, this is one of those setups where the tour acts like a package deal for both equipment and expertise. For first-time aurora photographers, that’s where the money tends to make sense.
Weather, Clouds, and How the Plan Stays Flexible
Aurora nights can be dramatic. Sometimes the lights show up early, sometimes you wait, and sometimes clouds roll in and force a new approach.
The good news with this tour is that the chase isn’t one-dimensional. Because you can switch between on-foot viewing, van hunting, and the wilderness camp sleigh option, you’re not stuck hoping for one specific patch of sky.
This is also where the guide’s attitude matters. Guides like Marco, Mateo, and Miquel are repeatedly praised for staying optimistic and working the plan when conditions look doubtful. For me, that’s the difference between a frustrating night and a night you remember, even if the aurora is lighter than expected.
Who Should Book This Abisko Photo Tour
This tour fits best if you:
- Want a photo-focused aurora experience, not just a viewing session
- Are new to DSLR night shooting and want hands-on help
- Prefer small groups (8 max) for personal camera guidance
- Like the idea of changing locations and chasing the aurora actively
It’s not a great fit if you:
- Have trouble walking in snow and cold conditions (the tour commonly involves walking)
- Travel with children under 10, since the tour is not suitable for them
- Expect a guaranteed aurora show regardless of the weather
If you’re traveling in winter and want the best mix of logistics, gear support, and aurora hunting, this is the kind of evening that saves you time and stress.
Should You Book the Abisko Northern Lights Photo Tour?
I think this tour is a strong choice if you want to maximize your odds in Abisko and you care about getting usable aurora photos. The combination of a small group, DSLR rental with presets, and a chase plan that can change during the night is exactly what makes aurora chasing feel efficient instead of chaotic.
Book it if you’re ready for real cold and a little walking in snow. Skip it if you only want a warm, stationary viewing moment. And do your homework on the basics: bring warm layers and a plan for your SD card, and you’ll be set up to take advantage of the night when the sky finally turns on.
FAQ
How long is the Abisko National Park Northern Lights Photo Tour?
The tour lasts 4 hours, and it includes at least 3 hours of searching for and photographing the aurora around Abisko National Park.
What’s included with the tour?
You get a DSLR camera and lens, a tripod, a backpack, warm overalls, and a head lamp, plus a warm drink and small snack. You also get guiding services, and transport during the aurora chase (by 4×4 van or sleigh pulled by snowmobile).
Do I need to bring a memory card?
Yes. A 16 GB SD memory card is not included, so you should plan to bring one.
What pickup area does the tour cover?
Pickup is included from hotels in Abisko and Björkliden, with multiple pickup location options listed (including Abisko Guesthouse, Abisko Mountain Lodge, Hotell Fjället, Abisko Fjällturer AB, and STF Abisko Turiststation). There is no pickup from Kiruna.
What time does pickup happen?
Pickup times vary by location, with Hotell Fjället listed at 7:10 PM and the other Abisko-area pickup points typically between 7:30 PM and 7:45 PM.
What should I wear or bring?
Bring warm clothes to wear under the provided overalls and warm insulated winter boots (heavy-duty arctic boots are available to rent). Warm shoes are specifically mentioned, and you should expect cold and walking in snow.
Is the tour suitable for children?
No. The tour is not suitable for children under 10 years old.